Pixel & Oak POS docs
First-time setup
The first time the till opens, it walks you through four steps: Business, Website, Tax and Admin. It takes about two minutes, and you can change everything later in Settings except the country.
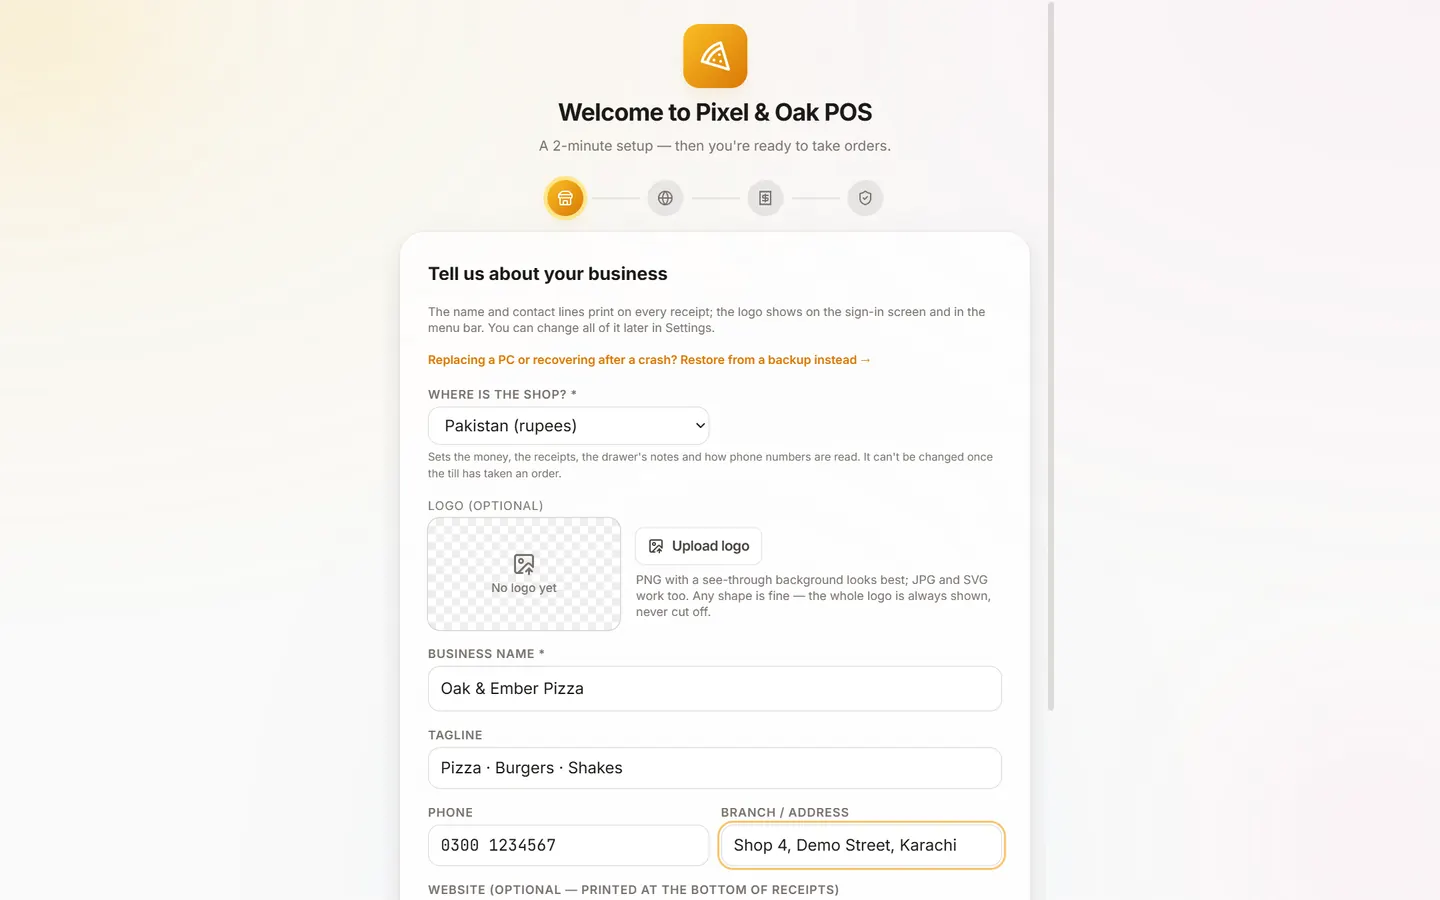
1. Business
- Where is the shop? Choose Pakistan (rupees) or United States (dollars). This sets the money, the receipts, the drawer's notes and how phone numbers are read. It cannot be changed once the till has taken an order. A US shop also picks its time zone.
- Business name (required), tagline, phone and branch / address: they print on every receipt. You can add a logo too.
- City, printed on delivery addresses (required in the US).
- Delivery areas: the areas you deliver to and their charges. You can add them later in Settings → Delivery areas & fees.
2. Website
What your ordering website shows customers. Even if you don't use the website yet, fill it in once.
- Required: phone for calls, street address, area and city, postal code (5 digits) and price range.
- Optional: a WhatsApp number for orders, opening and closing times and days, and whether customers can order on the website and pick up (with a % off a pick-up order).
3. Tax
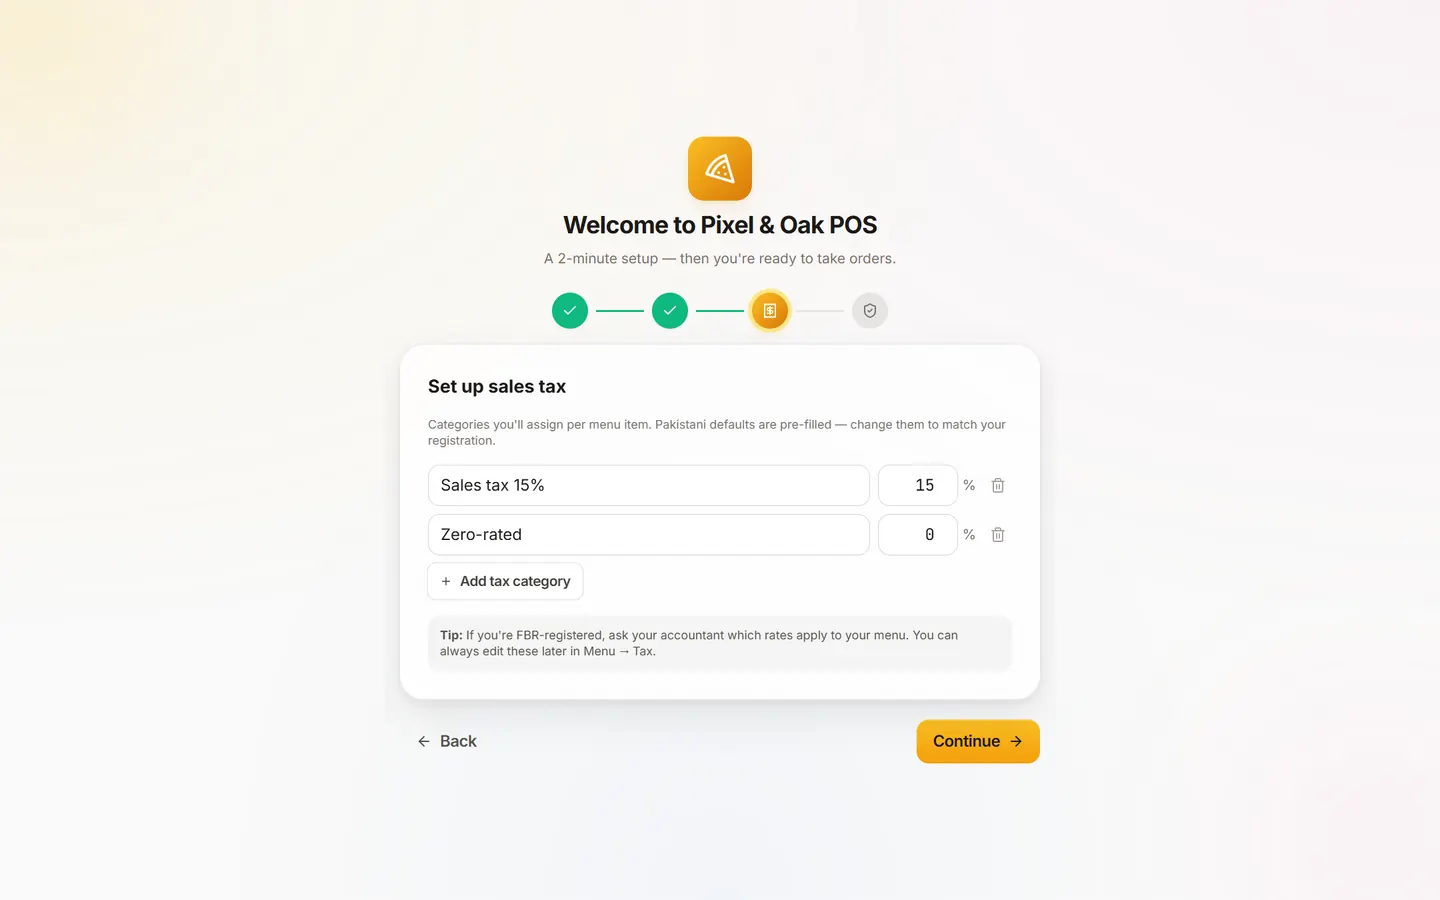
Each row is a tax name and a rate. Add as many as you need with Add tax category.
| Country | Starts with | Change it to |
|---|---|---|
| Pakistan | Sales tax 15% and Zero-rated 0% | Your rates. Separate card and wallet rates are set later in Menu → Tax. |
| United States | Sales tax 0% and Not taxed 0% | Your sales tax rate, with up to two decimals (for example 8.25%). |
Tax is added on top of your menu prices.
4. Admin
- Your full name, then How will you sign in?: a Number PIN (4 to 12 digits) or a Password (6 or more characters, with at least one letter). Type it twice.
- This is the Admin login: it can do everything, including Reports and Settings.
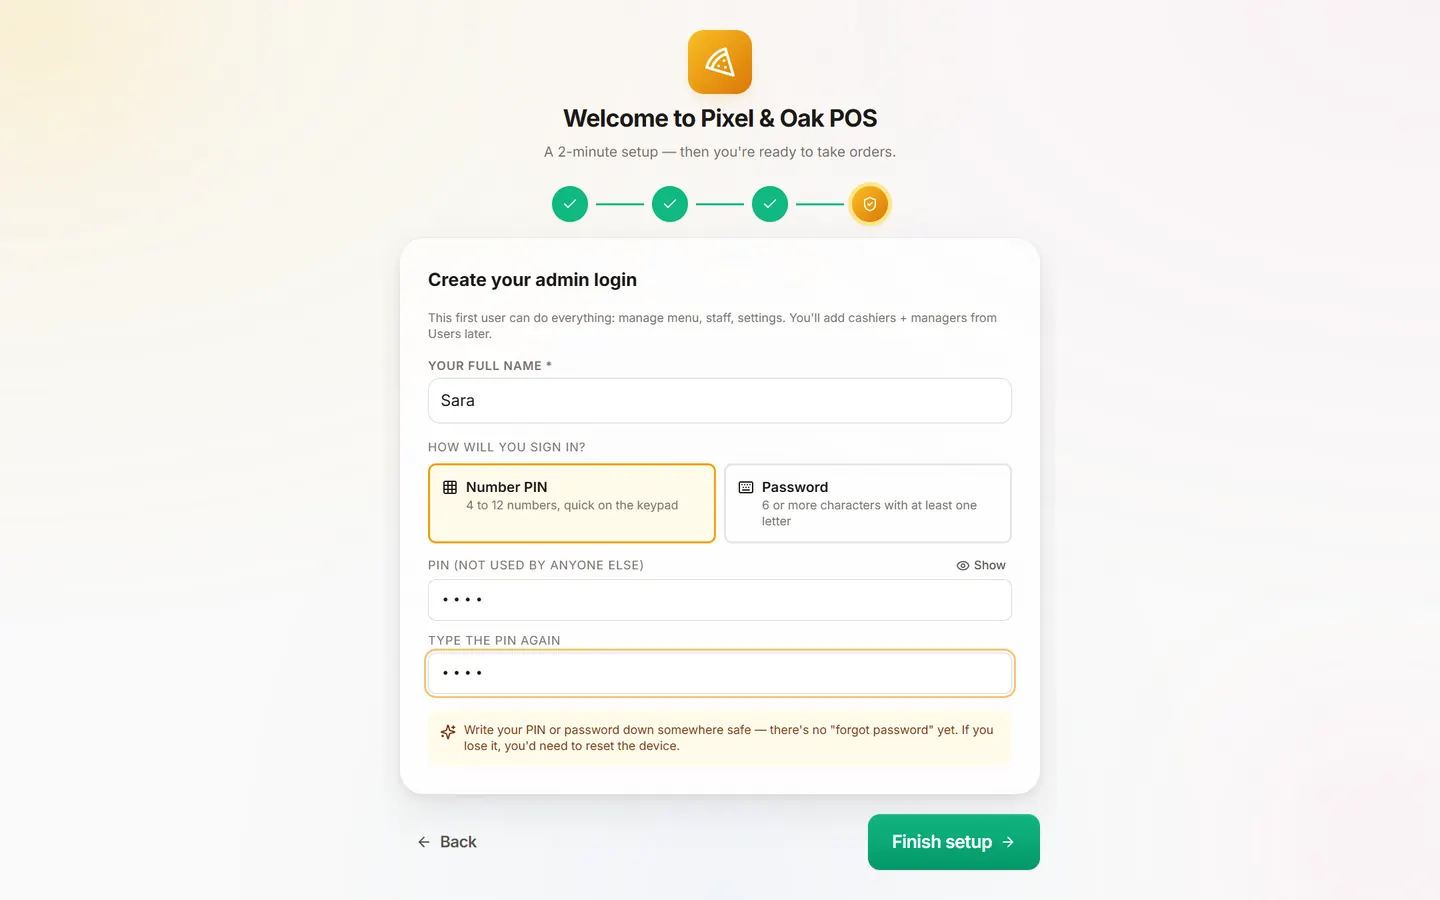
Click Finish setup. The till says Welcome aboard! and opens the sign-in screen.
Stuck on a step?
Message us on WhatsApp with a photo of the screen. We can also join a video call and fix it with you.